By Vicki Spencer, Master Gardener
If you are looking for a new project as summer winds down, consider transforming your yard into a beautiful, natural landscape by building a rock garden. Inspiration for rock gardens can be found all around us, whether it be in high alpine regions or semiarid deserts. The next time you visit a state or national park, go on a hike or drive in the countryside, take note of the wildflowers and how they pop up between rocks and imagine how you can imitate this same rugged beauty in your own yard.
The first step in planning your rock garden is to decide on the best location. Since rock gardens typically include native plants, the perfect spot might be a sunny area where the grass dries out faster than other areas, where you struggle to keep it green. Or maybe you want to locate your rock garden along your driveway or sidewalk to provide an interesting border that needs little watering.
Once you know where you want the garden, you need to define the boundaries. Since I am a visual person (I need to see something to know if I like it), I mark the boundaries by laying a garden hose on the ground and moving it around to form a shape that is pleasing to my eye. Then I dig a trench around this area and move the hose out of the way.
If you are using rocks as the garden border, lay them along the trench line. A word of caution though: If you are building your garden in the middle of a grassy area, grass will spread between the boundary rocks and you could end up spending hours trimming or removing the grass. Since weeding is not one of my favorite gardening activities, I suggest selecting a “seamless” border from the variety of materials found at your local garden store.
 Typically, rock gardens are elevated above the surrounding ground, which makes them appear more natural and provides good drainage. You can achieve the raised bed with a mixture of small rocks and soil. If you are building your garden above a grassy area, spread newspaper around with a layer of soil on top and it will smother the grass over time. Next, add the mixture of rocks and soil until you have almost reached the desired elevation. Then, finish the garden bed with a 6- to 8-inch layer of soil. This will make it easier to insert plants and rocks.
In selecting plants, consider growing requirements (sunlight, drainage, water needs) as well as a color scheme, height, width and leaf variation. Don’t be tempted to buy a huge variety of plants; your garden will have a more unified look and make a greater impression with repetition of a few varieties of each color selected in your design.
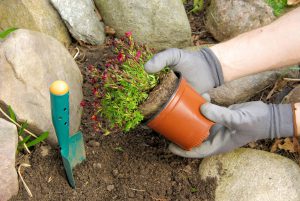
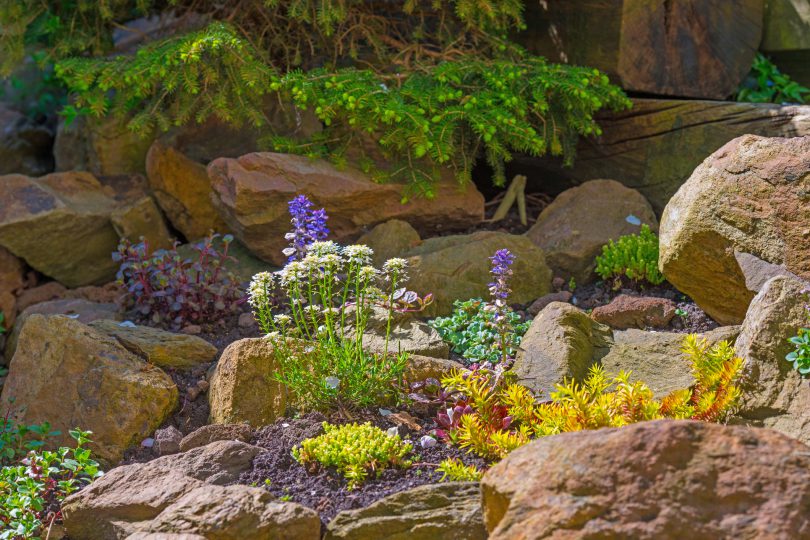
Begin by planting three of the same variety of plants in a large triangle, then add a plant nearby with contrasting foliage and scatter rocks randomly around the plants. Repeat this pattern throughout the garden. If you feel you need help deciding where to place the plants, turn to the internet. Just search Google for “rock gardens” and you will find a wealth of ideas. You don’t need to fill all the space with plants and rocks. As your garden matures, the plants will fill in gaps. When it starts to look cluttered, you can divide the plants and share them with friends and neighbors who will be happy to diversify their own gardens.
Foliage and rocks are the foundation of your rock garden. Therefore, I cannot overemphasize the importance of paying attention to their color and texture when choosing them. This provides contrast even when flowers are not in bloom.

