Oh so cute and super simple to make, you can turn some ribbon and beads into pretty Ribbon Tree Ornaments in no time at all.
WHAT YOU’LL NEED
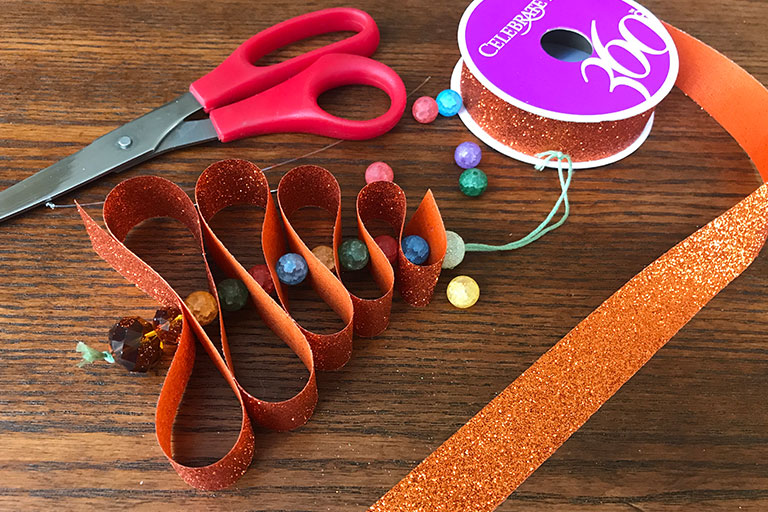
8-15 beads (with center holes just larger than the needle you use)
14-16 inches of ½-inch wide ribbon
Needle
Heavy thread or embroidery floss
Scissors
ASSEMBLY
Put embroidery floss or thread on your needle and tie a knot at the end large enough to stop the bead. Thread on a larger bead or a couple of beads for the base of your tree. Then start with about 8 inches of ribbon. Fold it over and push the needle through the center of your ribbon about 2-2 ½ inches from the end. Add a bead. Fold the ribbon back so the next loop is a little indented from the last layer and push the needle through the center. Repeat this process, adding a bead and looping the ribbon until you have a Christmas tree shape. Finish with a bead at the top and secure it by knotting the floss. Trim the ribbon. Trim the floss 3 to 4 inches from the top of the tree, tie a knot and trim any excess floss.
See how it’s done!
Need a Christmas tree for your DIY Ribbon Tree Ornaments but can’t afford one? Find out if you qualify for a free one from The Christmas Tree Project.
More crafting ideas are available on our Pinterest page. Check them out!