Make a Holiday Wreath
Why spend money on an overpriced wreath when you can make a holiday wreath of your own? Simple yet stunning, you will be amazed that these wreaths can last just as long as those store-bought brands. As of Christmas 2022, contributing writer Amy Higgins still proudly displays her Curly Paper Wreath proudly with minor repairs along the way.
Coffee Filter Wreath
What You Need:
• 14-inch Styrofoam wreath form
• 200-250 coffee filters
• hot glue gun and glue sticks
• your choice of decorations and hanger
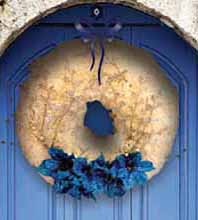
Fold coffee filter in half, run through fingers to create a flower shape and then make a flat edge on the bottom of the filter. Apply hot glue to the flat edge and adhere to the inside center of the wreath form. Repeat throughout the center leaving the backside untouched. Follow the same steps for the outer edge and then fill in the rest of the wreath form with filters.
For a more uniform look, trim uneven edges. Use hot glue or pins to attach decorations and hanger.
Burlap Wreath
 What You Need:
• 14-inch Styrofoam wreath form
• 6 yards of burlap (3 yards each of two colors)
• extra-long multi-purpose pins
• scissors
• ruler or cloth tape measure
• gloves
• decorations of your choice (glitter tulle)
• your choice of hanger (ribbon, hook, etc.)
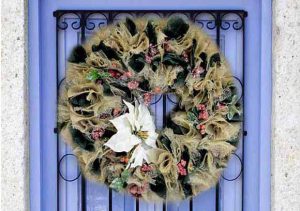
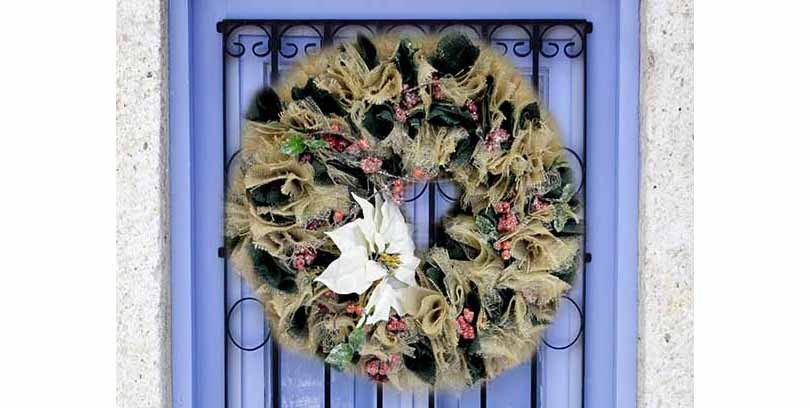
Cut burlap and glitter tulle into 5-inch by 5-inch squares. With each square, grab the center of the burlap and pull through fingers to create a flower shape. Pin the burlap through the bottom of the fold and maneuver down through the fold. Attach the pinned burlap along the outer edge of the Styrofoam. Repeat these steps throughout the entire Styrofoam form, working your way inward and alternating colors to your liking. Attach decorations and hanger.
Curly Paper Wreaths
 What You Need:
• 10-inch wreath form (use the dense, smooth, green Styrofoam)
• 300 straight pins with small heads
• 8 12X12 double sided sheets of scrapbooking paper
• bone folder
• 32-inch ribbon & 14-inch ribbon
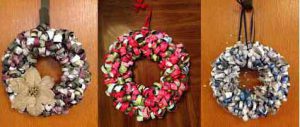
This is a fun and easy wreath that can be created in any color combination. Start by cutting the paper into ½-inch strips. (Test the first strip to see if it curls easily. Cutting the other direction might provide a better curl to the paper.) Curl each paper strip using a bone folder. (Available at craft supply stores.) Curl from the middle out toward each end, creating a double curl. (Sometimes a softer touch with the bone folder results in a better curl. Practice helps.)
Then use the stick pins to fasten the curls to the Styrofoam form, pushing the pin through the center of the curled paper. Before filling in the final piece of the wreath form, wrap the longer ribbon around the open area of the wreath, matching its ends.
Take the shorter ribbon and tie it around the first ribbon in a bow about 2 inches from the end, creating a ribbon hanger. Snip the ends. Finish filling in the form, add a bow or the decorations of your choice and your wreath is ready for the door.
Continue your holiday crafting adventures and try your hand at these Pinecone Owl Ornaments!


